
WSL2中设置使用windows的代理
准备工作
V2Ray设置 允许来自互联网的连接

记下V2Ray本地的IP

新增两个脚本
start_proxy.sh(开启代理的脚本)
1 | #!/bin/sh |
stop_proxy.sh(关闭代理的脚本)
1 | #!/bin/sh |
给这两个脚本增加权限
1 | chmod 777 start_proxy.sh |
打开代理
1 | source start_proxy.sh |
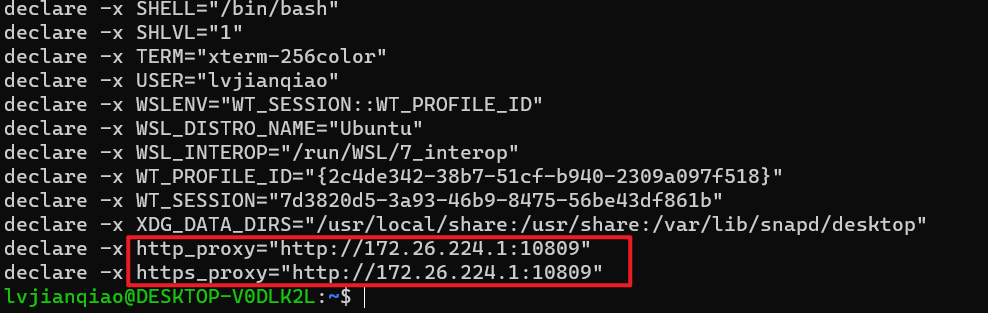
运行export查看是否添加成功,如下图
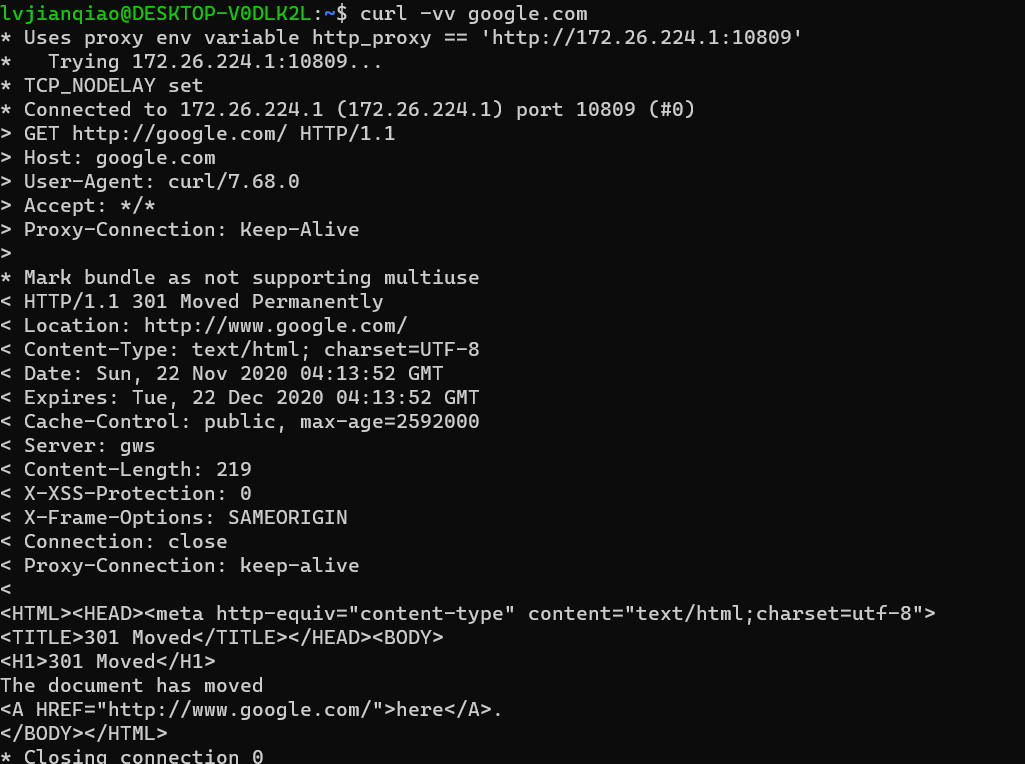
运行curl -vv google.com查看代理是否正常
关闭代理
1 | source stop_proxy.sh |
运行export查看是否删除成功,如下图

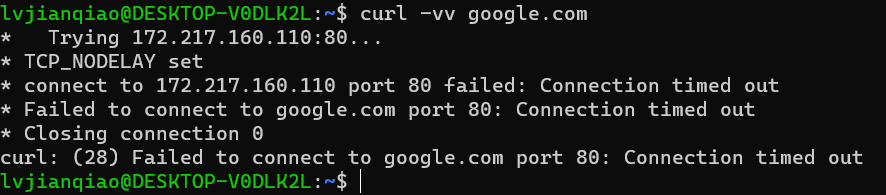
运行curl -vv google.com查看是否正常关闭代理,无法访问
本博客所有文章除特别声明外,均采用 CC BY-NC-SA 4.0 许可协议。转载请注明来自 jianqiao0313!
评论